Skip to content
Accounting

Invoices & Payments

Accounting

Invoices & Payments

Create customer invoices, process vendor bills, register payments, and reconcile your bank accounts.

7 steps Updated Mar 7, 2026 SOP · Standard

The Accounting module is the financial backbone of Odoo. This guide covers the daily operations: creating and sending invoices, processing vendor bills, registering payments, and keeping your bank reconciled.

1

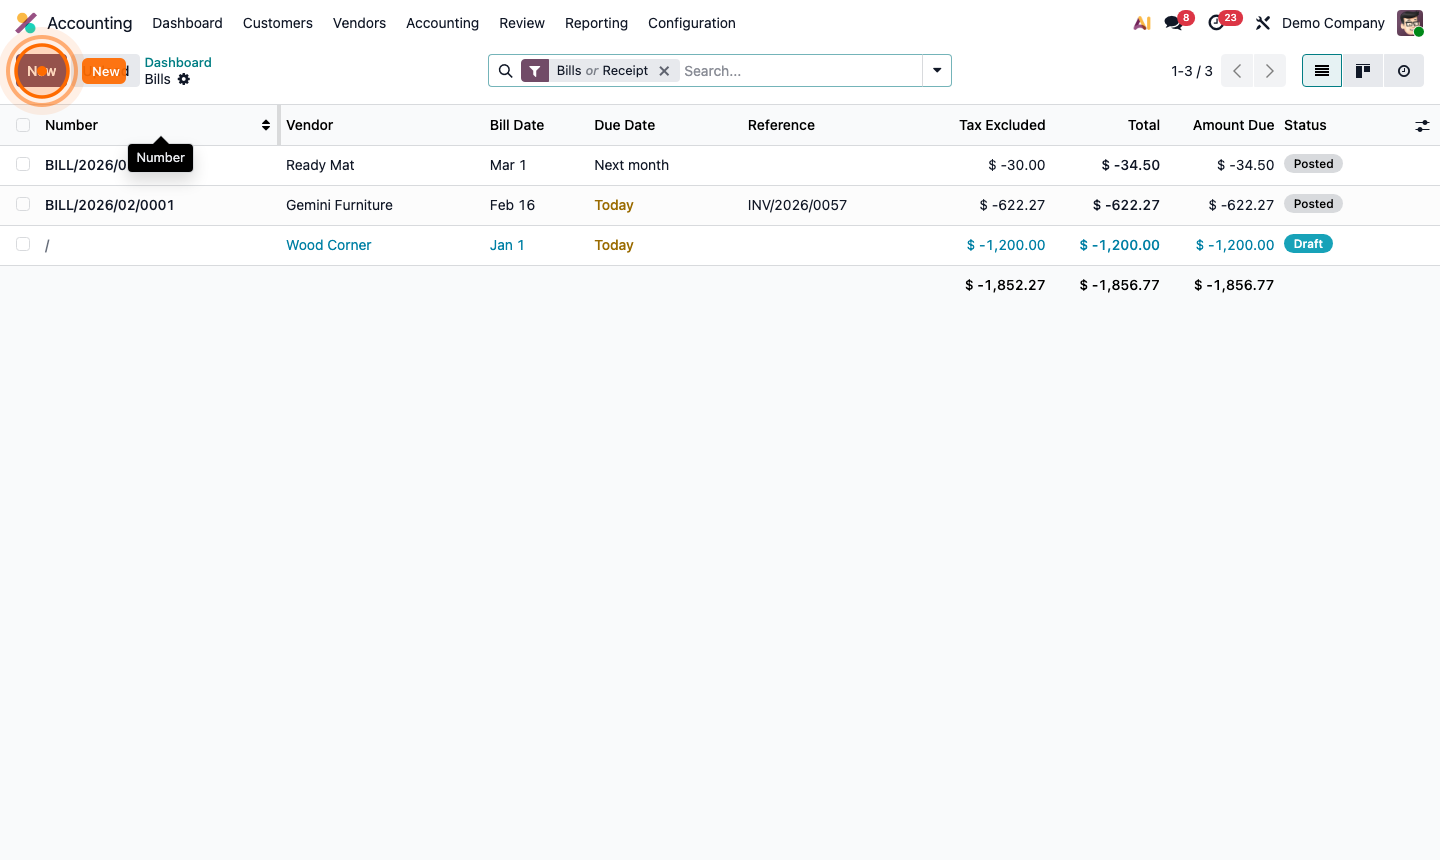
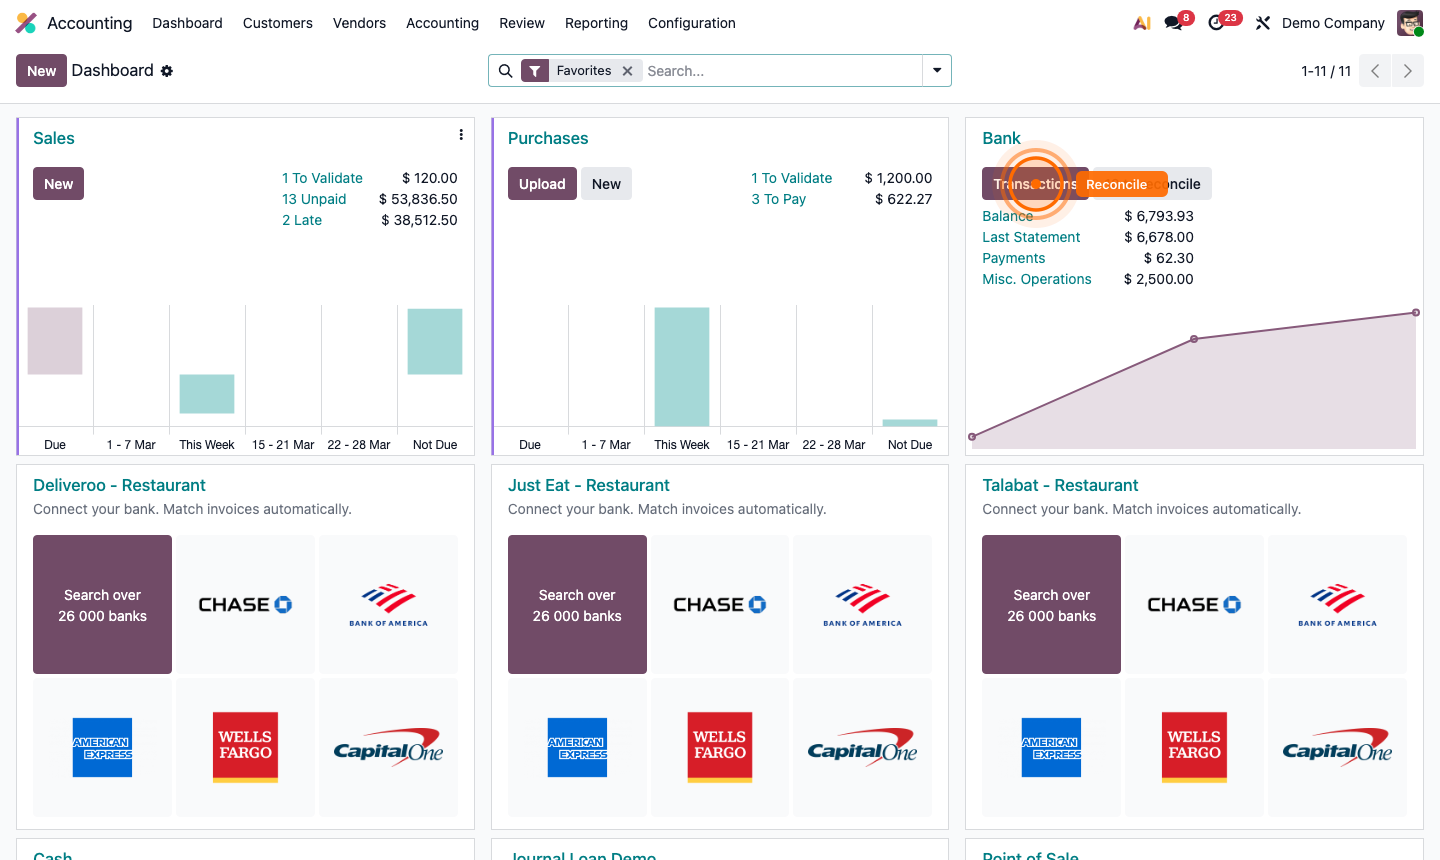
Review the Accounting Dashboard

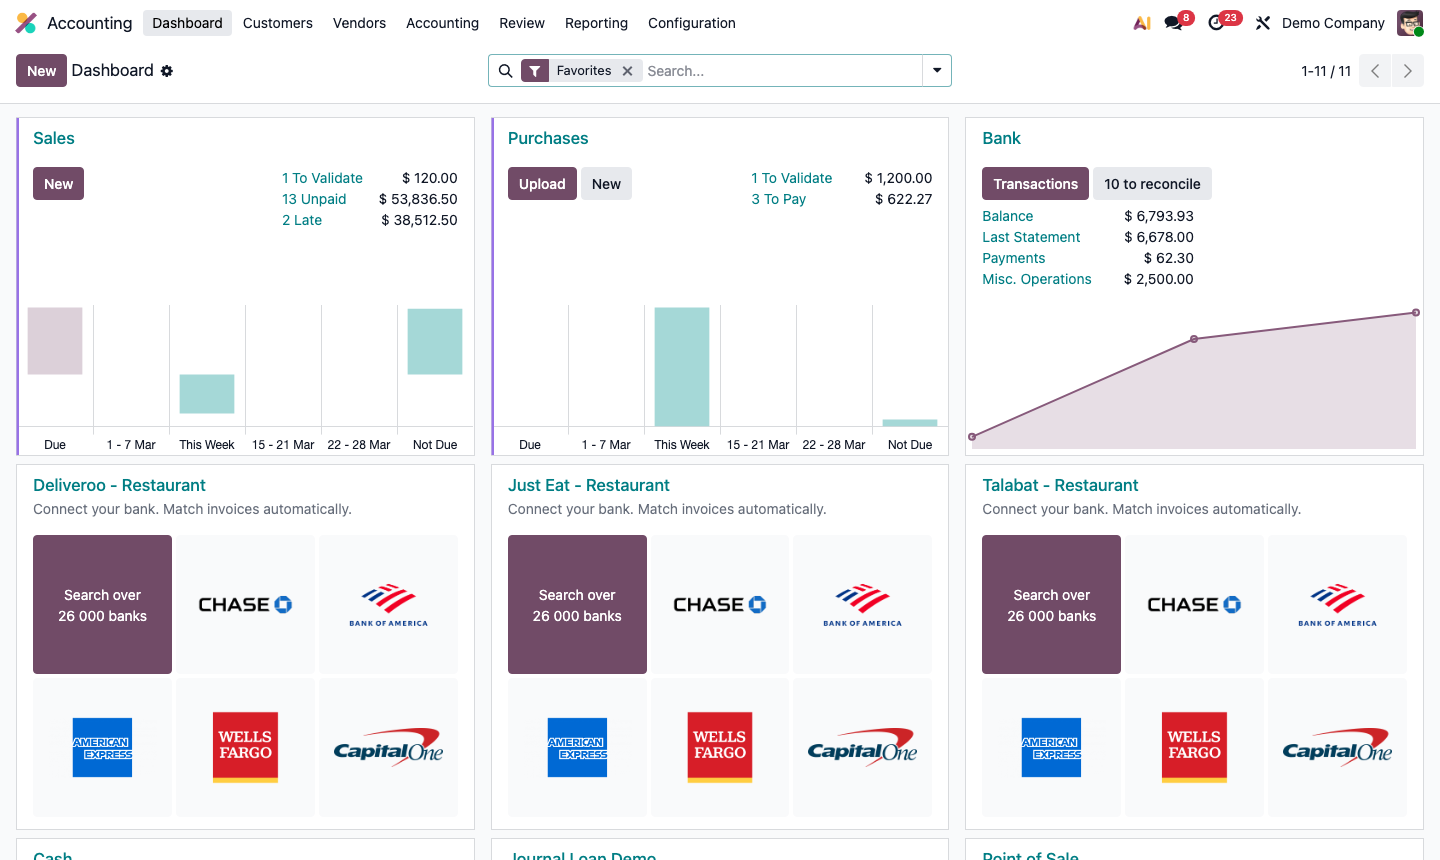
The Dashboard is the first screen in the Accounting app. It gives you an at-a-glance financial overview:

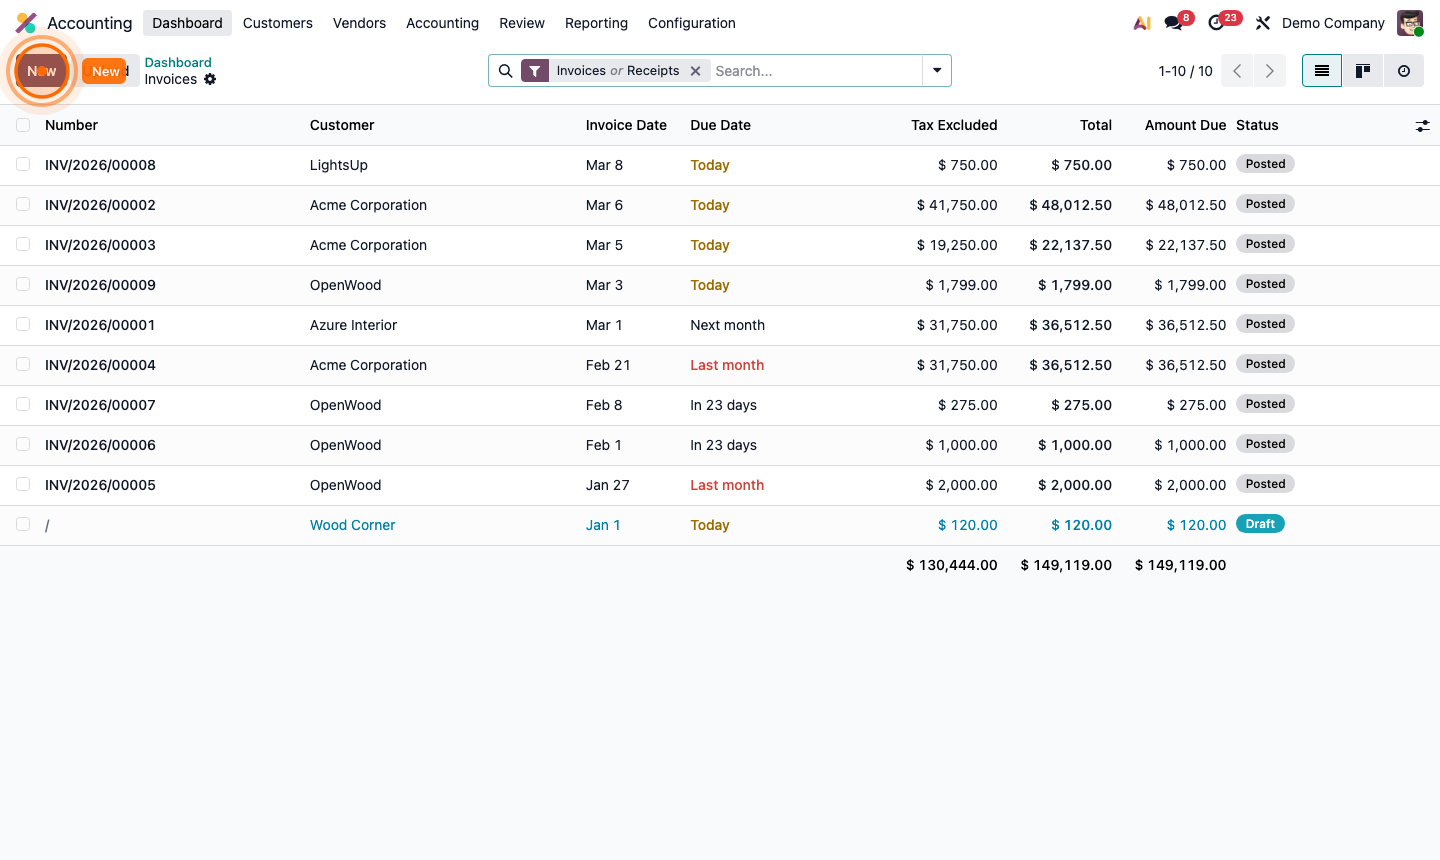
  • Sales journal — invoices to validate, unpaid amounts, and overdue totals
  • Purchases journal — bills awaiting approval and amounts to pay
  • Bank journal — current balance and number of transactions to reconcile

Use the quick-action buttons on each journal card (New, Upload, Transactions) to jump directly into the relevant task.

Step 1: Accounting dashboard showing journal cards with outstanding balances

2

Create a Customer Invoice

Go to Customers → Invoices in the top menu. Click New.

Fill in the invoice form:

  • Customer — select from Contacts
  • Invoice Date — defaults to today
  • Due Date — or set via Payment Terms
  • Journal — usually “Customer Invoices”

In the Invoice Lines tab, click Add a line:

  • Product (or enter a description manually)
  • Quantity and Unit Price
  • Account — the income GL account (auto-filled from product)
  • Taxes — auto-applied

Review the totals: Untaxed Amount, Tax, and Grand Total.

Step 2: New customer invoice form with line items and totals

3

Confirm (Post) the Invoice

Click Confirm to post the invoice.

  • Status changes from Draft to Posted
  • A permanent invoice number is assigned (e.g., INV/2026/00008)
  • The invoice is now locked for editing
  • Journal entries are created automatically in the ledger

Step 3: Posted invoice with assigned number, status badge, and journal entries created

4

Send the Invoice to the Customer

From a posted invoice:

  1. Click Send & Print (or just Send).
  2. Review the email preview — the invoice PDF is automatically attached.
  3. Adjust the email body if needed.
  4. Click Send.

The invoice is emailed to the customer and the chatter logs the sent email automatically. The customer can view and download the invoice from their portal.

Step 4: Send invoice email dialog with PDF preview and customer address

5

Register a Payment

When the customer pays:

  1. Open the invoice.
  2. Click Pay.
  3. In the payment dialog, confirm:
    • Amount — defaults to the outstanding balance
    • Payment Date
    • Journal — the bank or cash account receiving the payment
    • Memo — reference (e.g., bank transfer reference)
  4. Click Pay.

The invoice status updates to In Payment (until the bank statement is imported) and then to Paid once reconciled.

Step 5: Register payment dialog with amount, date, and journal selection

6

Process a Vendor Bill

Go to Vendors → Bills in the top menu. Click New (or Upload to use AI document scanning).

The process mirrors customer invoices:

  • Vendor — select from Contacts
  • Bill Date and Due Date
  • Bill Reference — the vendor’s invoice number
  • Add line items with product, account, quantity, price, and taxes
  • Click Confirm to post the bill

When the bill is due, click Pay and select the payment journal (bank account) to register the outgoing payment.

Step 6: Vendor bill form with bill reference, line items, and Confirm button

7

Bank Reconciliation

Regular reconciliation ensures your Odoo records match your actual bank balance.

  1. From the Accounting Dashboard, click Transactions on your bank journal.
  2. Odoo shows imported bank transactions on the left and suggested matches (invoices/payments) on the right.
  3. For each transaction:
    • Click Match if Odoo found the correct invoice or payment
    • Click Create if no match exists (to log a new journal entry)
    • Click Validate to confirm the reconciliation
  4. Your bank balance in Odoo now reflects reality.

Step 7: Bank reconciliation view with transactions on the left and matched invoices on the right