Skip to content
Inventory

Products & Stock Management

Inventory

Products & Stock Management

Set up products, monitor stock levels, process incoming receipts, and fulfil outgoing delivery orders.

7 steps Updated Mar 7, 2026 SOP · Standard

The Inventory module manages everything related to physical goods: product setup, warehouse locations, stock movements (receipts and deliveries), and ongoing stock accuracy through physical inventory counts.

1

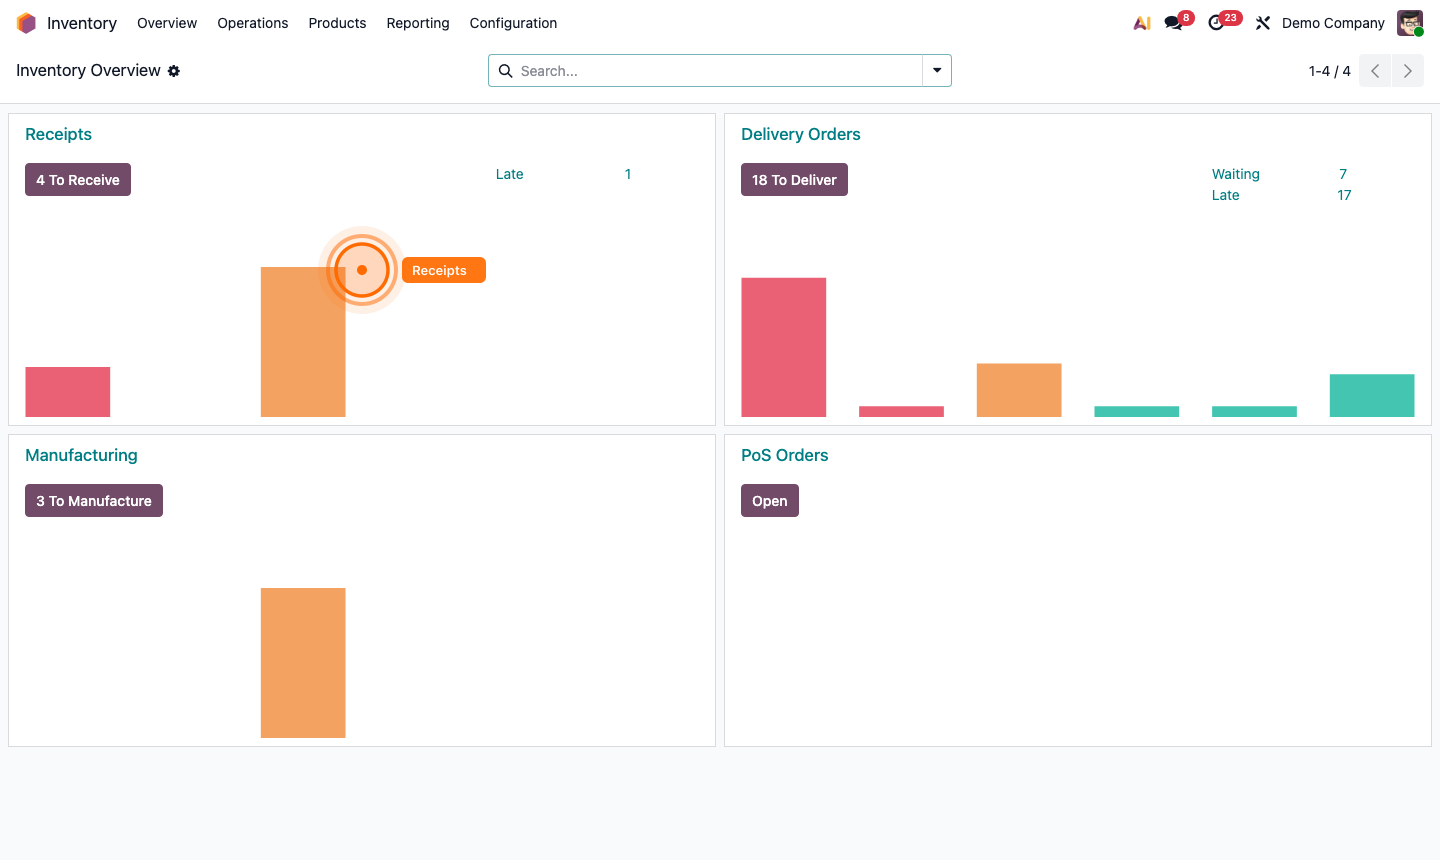
Review the Inventory Overview

The Overview page is your operational dashboard. It shows pending work as cards:

  • Receipts — stock expected from confirmed Purchase Orders
  • Delivery Orders — shipments due from confirmed Sales Orders
  • Manufacturing — production orders awaiting processing

Each card shows the number of operations pending (e.g., “4 To Receive”, “18 To Deliver”) and a bar chart of overdue vs. on-time operations. Click any card to open the relevant operation list.

Step 1: Inventory overview with operation cards showing pending receipts and deliveries

2

Create a New Product

Go to Products → Products in the top menu. Click New.

Fill in the product form:

  • Product Name (required)
  • Product Type:
    • Storable — tracked in inventory, generates stock moves
    • Consumable — not tracked; assumed always available
    • Service — no physical stock
  • Sales Price and Cost
  • Unit of Measure (UoM)
  • Internal Reference — your SKU or part number
  • Barcode — for scanning workflows

Upload a product image for easier identification in picking lists and the website catalog.

Step 2: New product form showing product type, price, and UoM fields

3

Configure Inventory Settings on a Product

Click the Inventory tab on a product record:

  • Routes — controls how stock is sourced:
    • Buy — triggers a purchase order when stock is needed
    • Manufacture — triggers a production order
    • Make to Order (MTO) — only orders when a sale is confirmed
  • Tracking — No tracking, By Lot, or By Serial Number
  • Responsible — the user notified for stock alerts

Set a Reordering Rule by clicking the Reordering Rules smart button, or via Operations → Replenishment.

Step 3: Product inventory tab showing routes, tracking, and reordering rule settings

4

Check Stock Levels

From any storable product, the On Hand smart button at the top shows the current stock quantity.

Click it to see a breakdown by:

  • Location — which warehouse or storage area
  • Lot / Serial Number — if tracking is enabled

Alternatively, go to Reporting → Inventory for a full stock report across all products.

Step 4: Product on-hand stock breakdown by location and lot number

5

Process an Incoming Receipt

Receipts are created automatically when a Purchase Order is confirmed.

  1. From the Overview, click Receipts.
  2. Open a receipt with “Ready” status.
  3. Compare the Demand (ordered) vs. Done columns.
  4. Enter the actual received quantities in the Done column.
  5. Click Validate to confirm the receipt.

Stock levels are immediately updated. If quantities differ from the order, Odoo can create a backorder for the remaining items.

Step 5: Incoming receipt form with Demand and Done columns ready for validation

6

Process an Outgoing Delivery

Delivery Orders are created automatically when a Sales Order is confirmed.

  1. From the Overview, click Delivery Orders.
  2. Open a delivery with “Ready” status.
  3. Verify the products and quantities in the Done column.
  4. Click Validate to confirm shipment.

Stock is deducted and the Sales Order delivery status updates to “Done” automatically.

Step 6: Outgoing delivery order form with product lines and Validate button

7

Run an Inventory Adjustment

Periodically reconcile your system stock against physical counts.

  1. Go to Operations → Physical Inventory.
  2. Odoo shows all products with their current on-hand quantity.
  3. In the Counted Quantity column, enter the physical count for each product.
  4. Click Apply All to update Odoo’s stock to match the physical count.

Odoo creates inventory adjustment journal entries automatically to reflect the differences in your accounts.

Step 7: Physical inventory page with on-hand and counted quantity columns