Skip to content
CRM

Pipeline Stages & Views

CRM

Pipeline Stages & Views

Customise your CRM pipeline stages, configure probability settings, and use Kanban, list, and activity views effectively.

6 steps Updated Mar 7, 2026 SOP · Standard

Your pipeline stages define your sales process. Getting them right — the right number, the right names, the right probability estimates — has a direct impact on forecast accuracy and sales team behaviour. This guide walks through stage configuration, pipeline views, and tips for keeping your pipeline healthy.

1

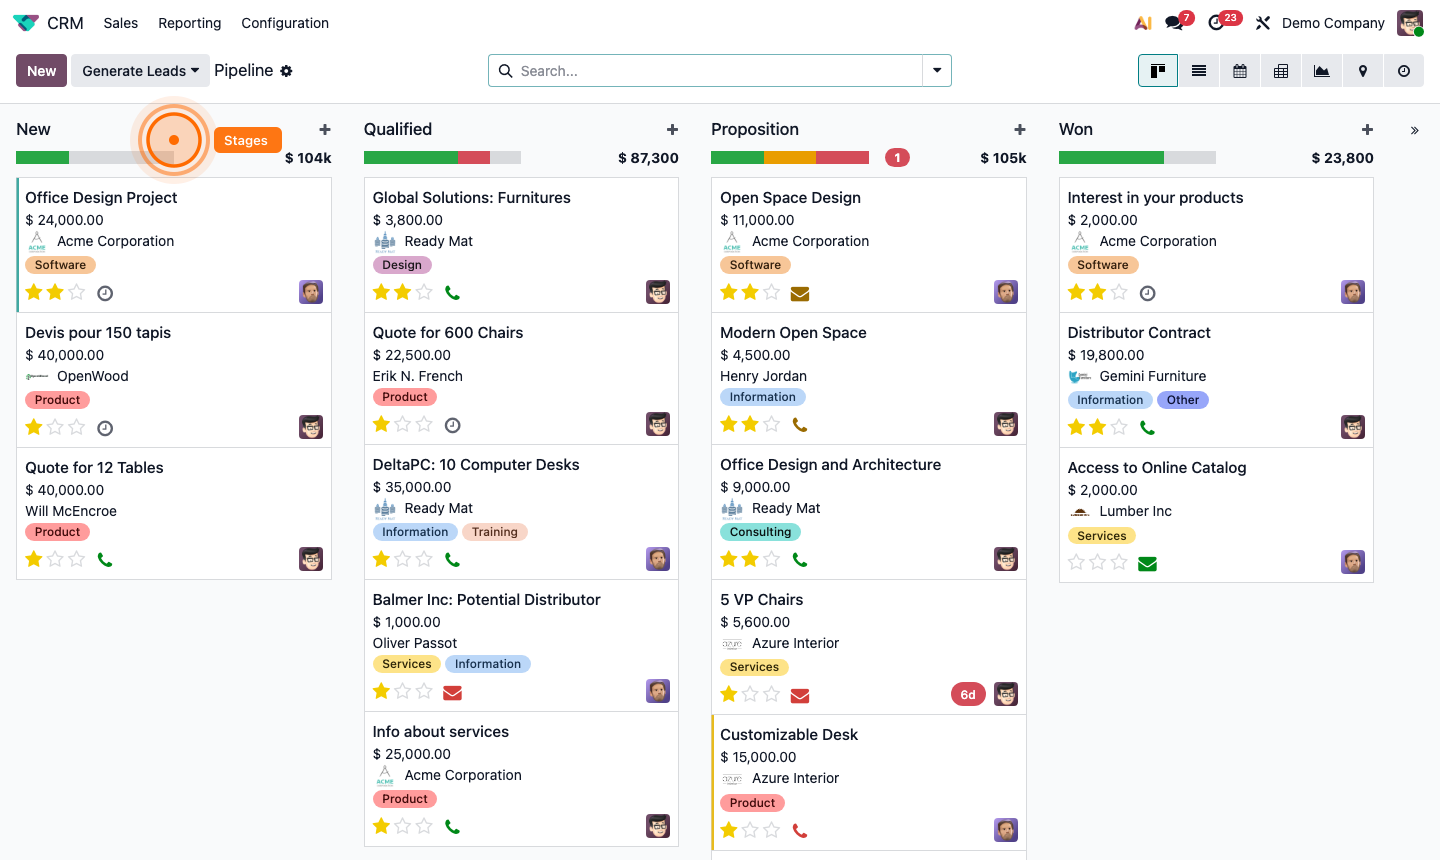
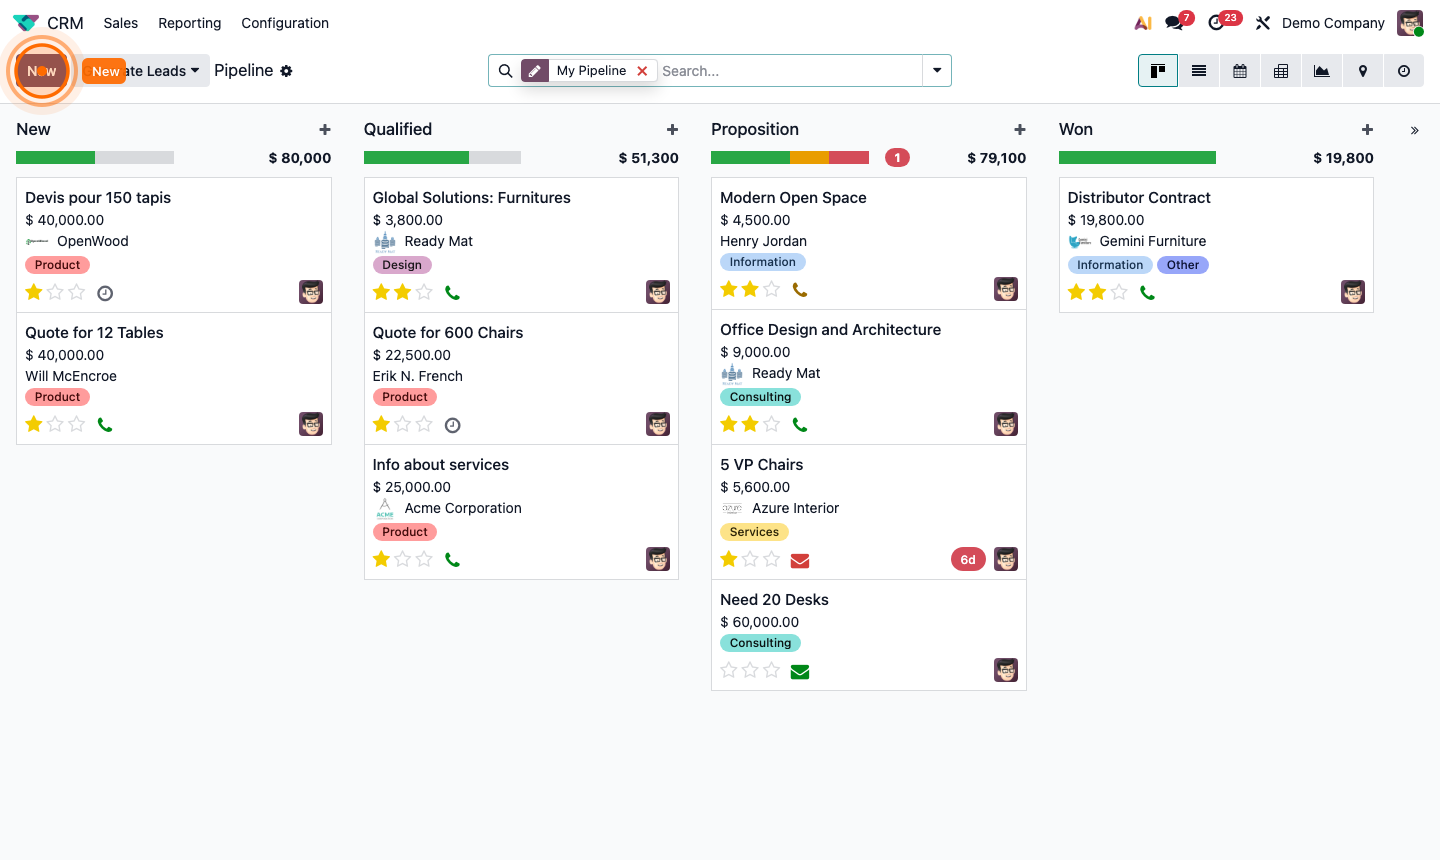
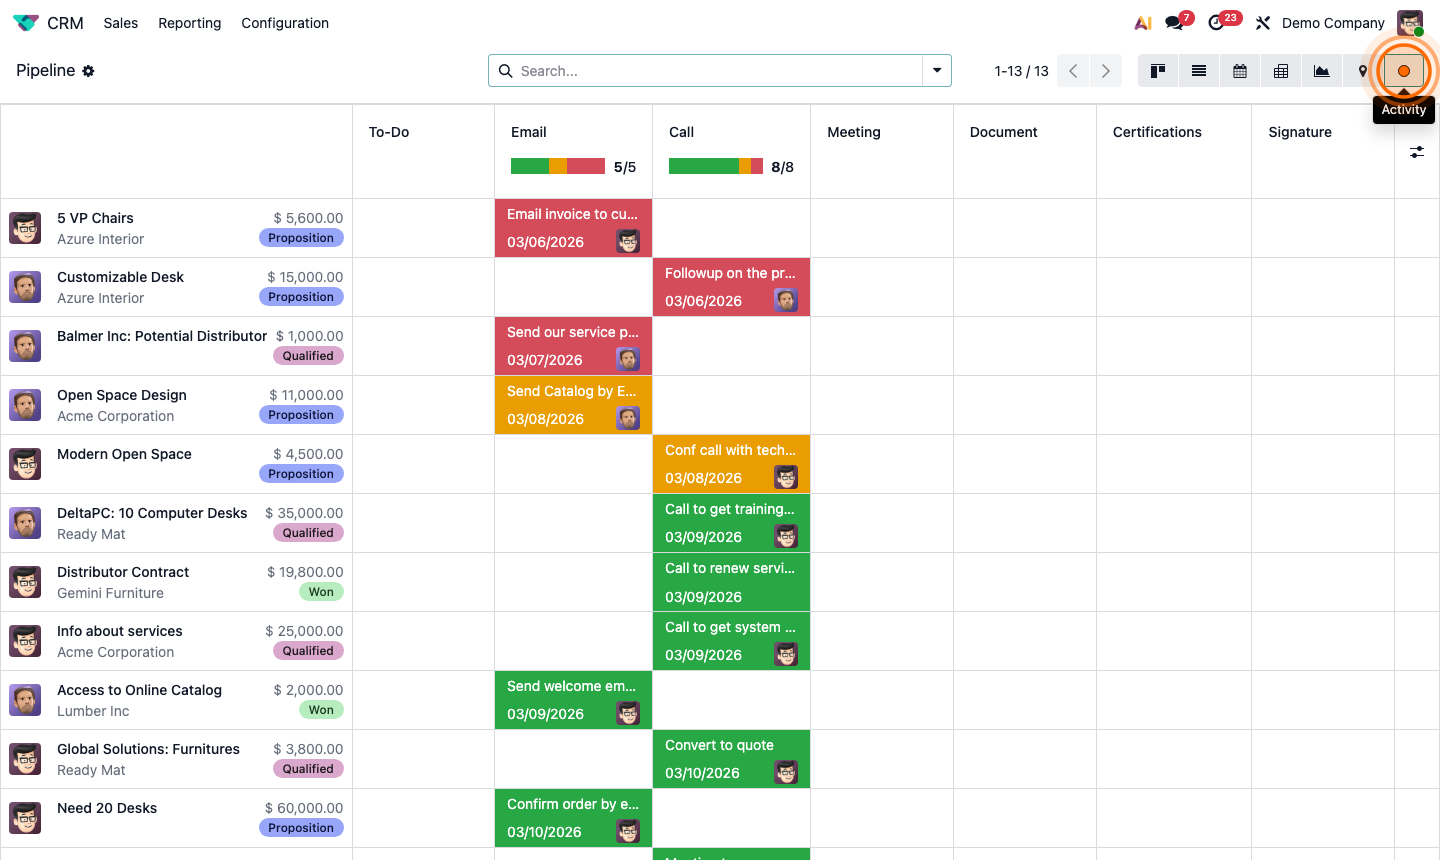
View and Navigate the Pipeline

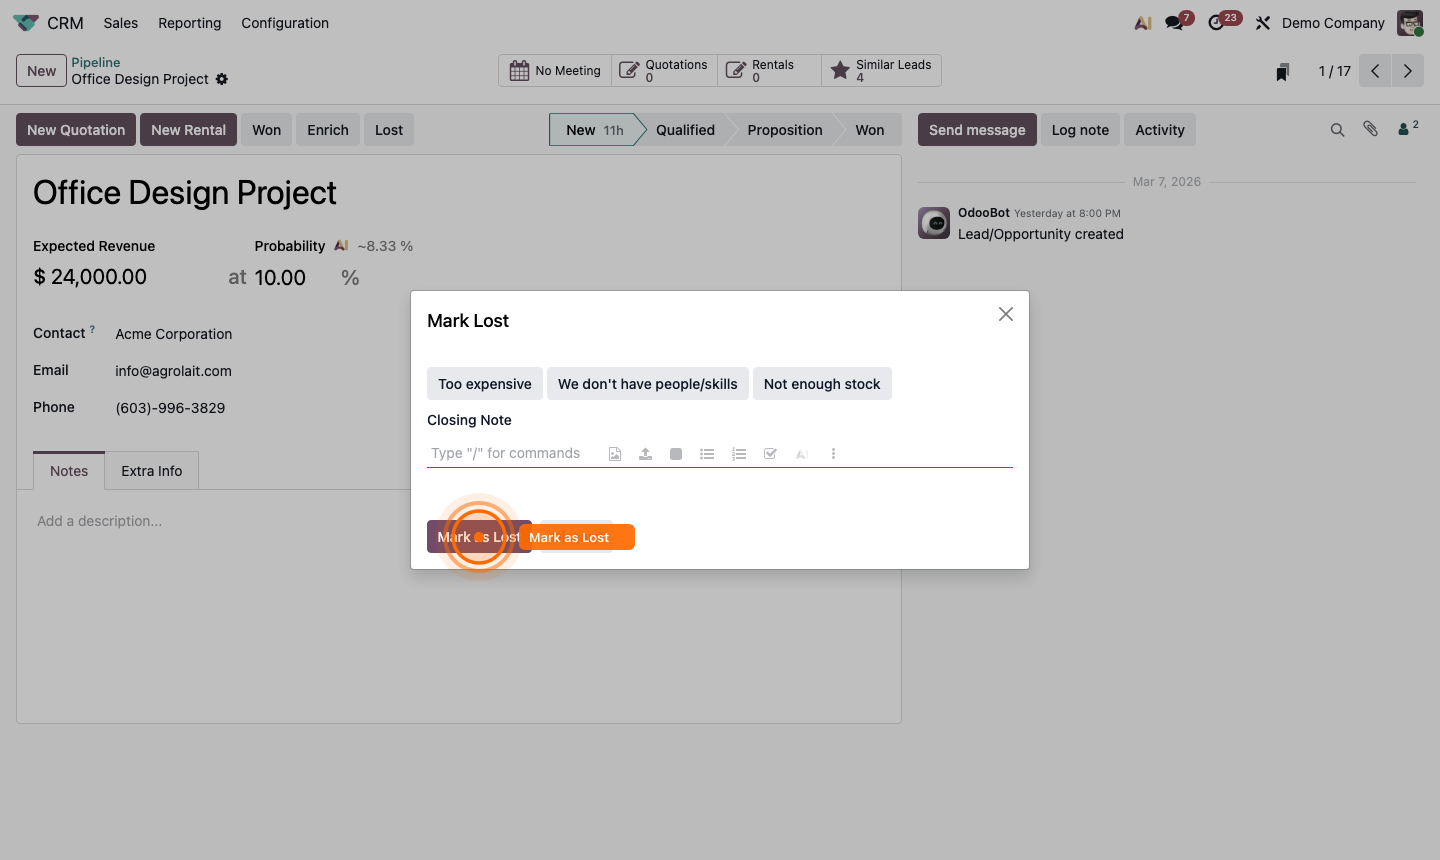
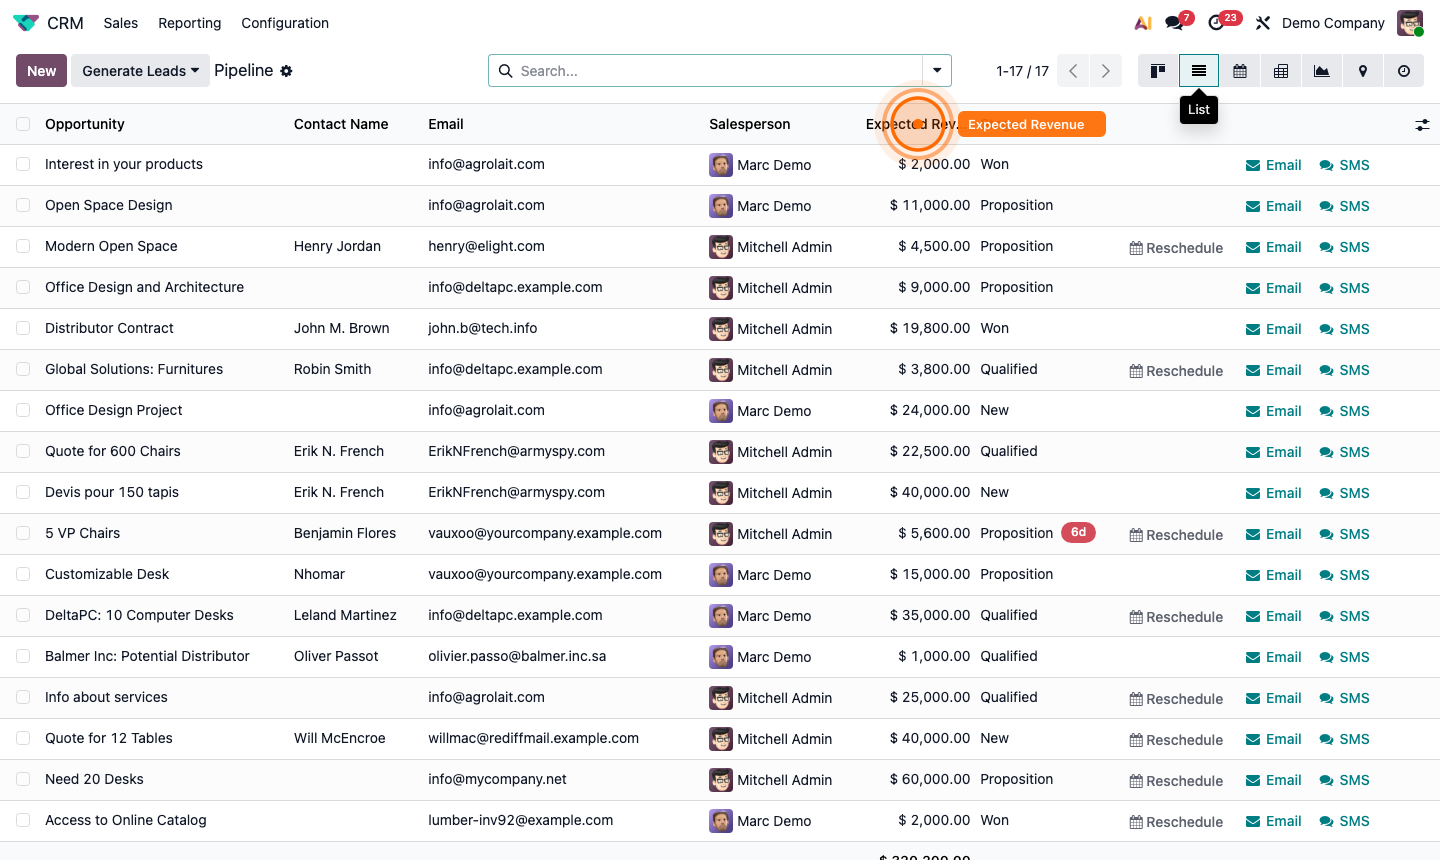
Open the CRM app. The default view is the Kanban pipeline — columns represent stages, cards represent opportunities.

Key controls at the top:

  • My Pipeline toggle — shows only your opportunities (default) or all
  • Sales Team filter — filter by team
  • Salesperson filter — filter by rep
  • Stage filter — hide/show specific columns

Each Kanban card shows: customer name, expected revenue, probability, and next scheduled activity. Cards with a red clock icon have overdue activities.

Drag cards between columns to progress them through the pipeline.

Step 1: CRM Kanban pipeline with stage columns, opportunity cards, and filter bar

2

Add and Edit Pipeline Stages

To add or edit stages, open the CRM pipeline and click the ⚙ (gear) icon on any column header, or go to CRM → Configuration → Stages.

Click New to create a stage:

  • Stage Name — short, action-oriented (e.g., “Qualified”, “Proposal Sent”, “Negotiation”)
  • Probability — the win probability for opportunities at this stage (used in forecasting)
  • Sales Team — leave blank to make it available to all teams, or restrict to one
  • Folded in Kanban — hides the column by default (useful for “Lost” or low-activity stages)
  • Requirements — internal note for salespeople on what criteria must be met to reach this stage

Step 2: Stage configuration form showing name, probability, team assignment, and requirements

3

Set Up the Won and Lost Stages

Odoo has built-in Won and Lost actions (buttons on each opportunity) that are separate from your pipeline stages. However, you should configure them correctly:

Won: Click Won on an opportunity. It moves out of the pipeline and is marked as Won. Set the Won Reason field (optional) for analysis.

Lost: Click Lost. You’re prompted to select a Lost Reason (e.g., “Price too high”, “Went with competitor”, “No budget”).

Go to CRM → Configuration → Lost Reasons to create your standard reasons. This data powers your win/loss analysis reports.

Step 3: Lost reason selection dialog and Won/Lost reason configuration list

4

Use List View for Bulk Management

Switch to List view using the icon in the top-right. List view is better for:

  • Bulk editing multiple opportunities at once
  • Sorting by expected close date, revenue, or probability
  • Exporting pipeline data to Excel

Select multiple rows with checkboxes → Action → Edit to update stage, salesperson, or tags in bulk.

Sort columns by clicking headers. Use the Group By dropdown to group by Stage, Salesperson, Sales Team, or Month.

Step 4: CRM list view with opportunities sorted by expected revenue and bulk selection

5

Use Activity View to Manage Follow-ups

Switch to Activity view to see all open opportunities grouped by their next scheduled activity type.

This view answers: “What actions need to happen today?”

The grid shows:

  • Rows = opportunities
  • Columns = activity types (Email, Call, Meeting, etc.)
  • Coloured dots = due date status (green = today, orange = overdue, grey = future)

Click any dot to open the activity details, mark it done, or reschedule it.

Step 5: CRM activity view showing opportunities with colour-coded activity status dots

6

Set Up Pipeline Stage Rules

Use Automated Actions to enforce pipeline hygiene automatically.

Go to Settings → Technical → Automation → Automated Actions. Create a rule:

  • Model: CRM Lead/Opportunity
  • Trigger: Stage is set to “Proposal Sent”
  • Action: Schedule an activity — “Follow up in 5 days” — assigned to the salesperson

This ensures no opportunity sits in “Proposal Sent” without a follow-up scheduled.

Other useful automations:

  • Alert manager when an opportunity stays in the same stage for 14+ days
  • Automatically set a closing date when stage reaches “Negotiation”
  • Send a Slack/email notification when a deal is marked Won

Step 6: Automated action configuration for CRM stage trigger with schedule activity action