Skip to content
CRM

Leads & Opportunities

CRM

Leads & Opportunities

Manage your sales pipeline from initial lead capture through to won deal using the CRM Kanban board.

7 steps Updated Mar 7, 2026 SOP · Standard

The CRM module is the heart of your sales process. It provides a visual Kanban pipeline where every deal moves from first contact to closed-won, with full communication history, activity tracking, and direct integration with Sales quotations.

1

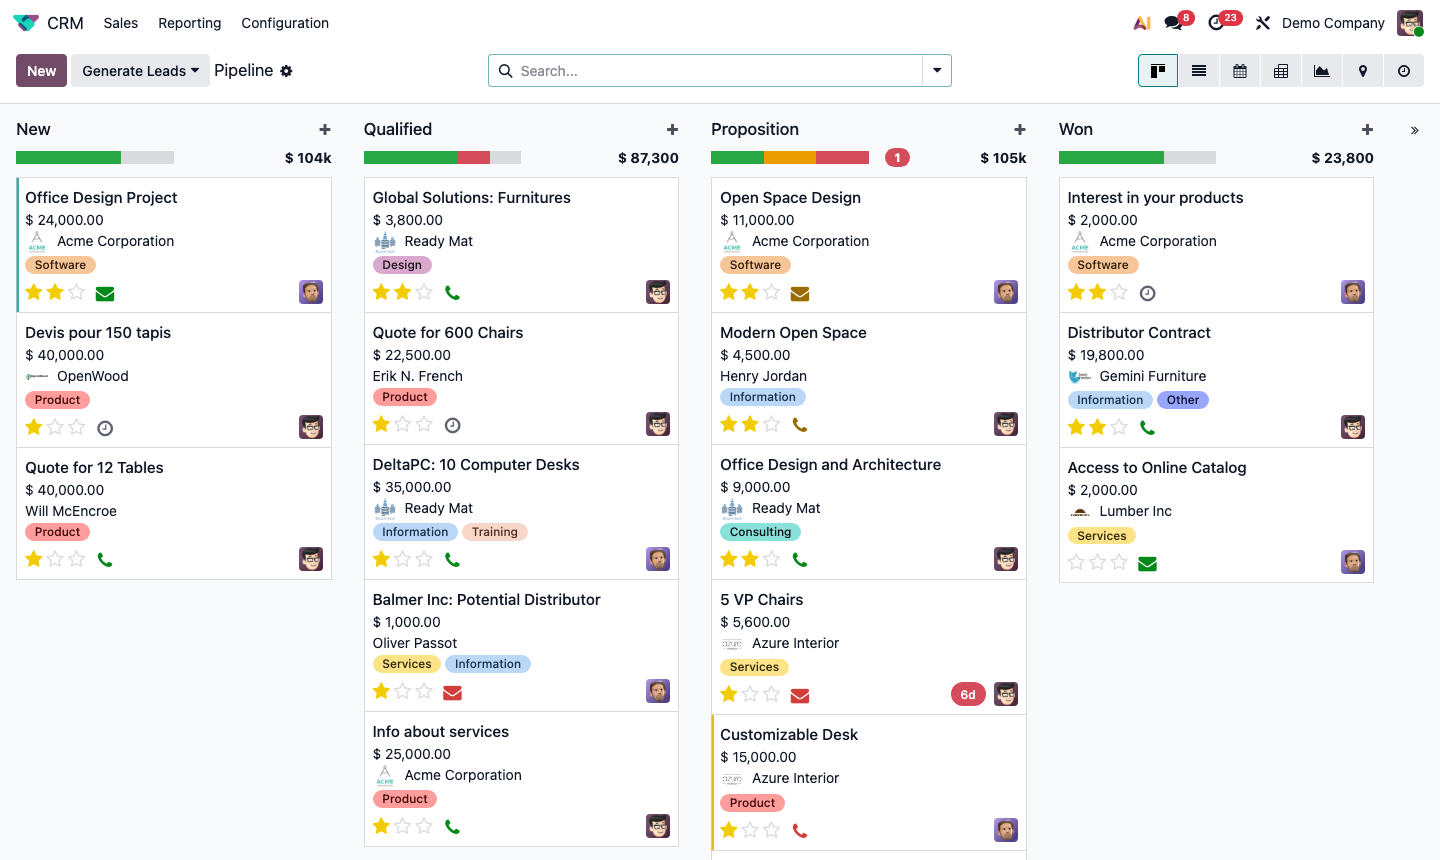
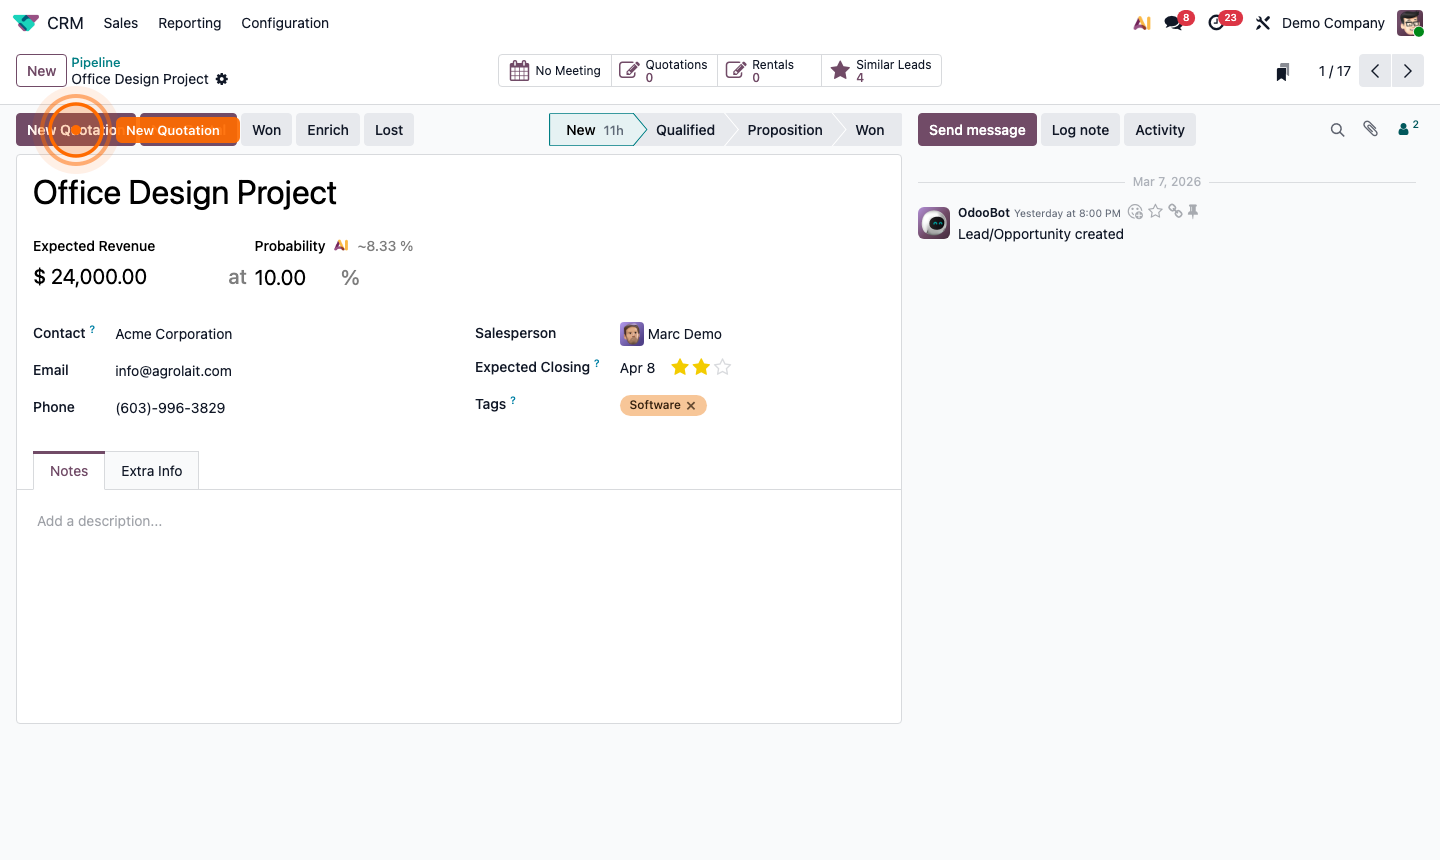
Understand the Pipeline View

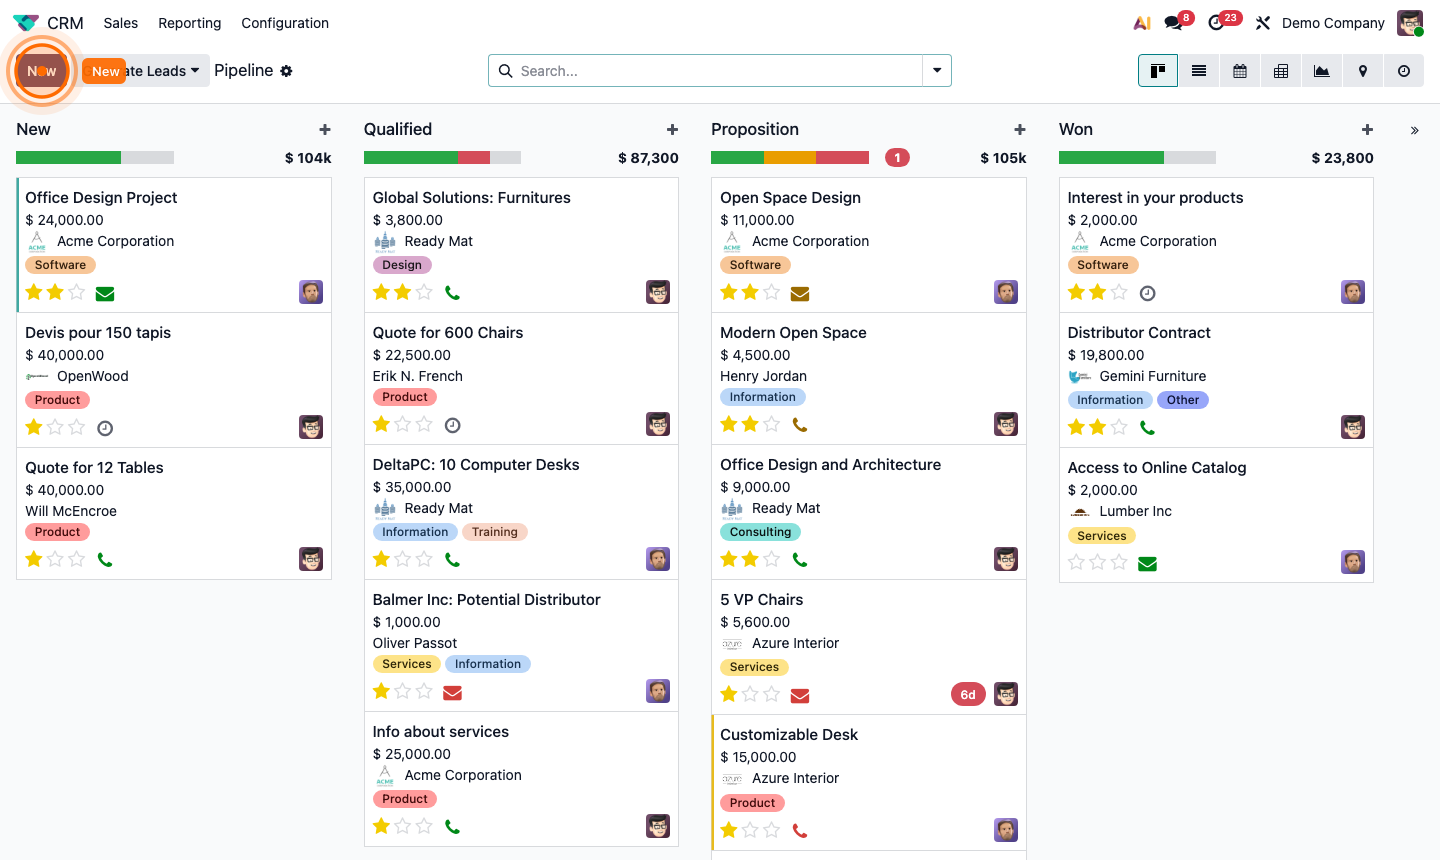
The default view is the Kanban pipeline, showing opportunities as cards grouped into stages: New → Qualified → Proposition → Won.

Each card displays the opportunity title, expected revenue, customer name, tags, priority stars, and assigned salesperson. The column header shows the total pipeline value for that stage.

Step 1: CRM Kanban pipeline with all stages and opportunity cards

2

Create a New Opportunity

Click New in the top-left, or click the + button at the top of any stage column. Fill in the quick-create panel:

  • Opportunity Title — a clear description of the deal
  • Contact Name — the customer or company
  • Phone and Email
  • Expected Revenue — estimated deal value

Click Add to save it to the pipeline, or Edit to open the full form.

Step 2: Open opportunity showing all deal details and fields

3

Move Opportunities Through Stages

As a deal progresses, move the opportunity to the appropriate stage.

Option A — Drag and Drop: In Kanban view, drag the card horizontally to a new stage column.

Option B — Status Bar: Open the opportunity and click the stage name in the status bar at the top of the form.

Step 3: Opportunity form with pipeline stage status bar at the top

4

Log Activities & Follow-Ups

Every opportunity has a chatter on the right side. Use it to stay on top of all communications:

  • Send message — sends an email to the customer, automatically logged
  • Log note — adds a private internal note
  • Activity — schedule a next action (Email, Phone Call, Meeting, Demo)

Overdue activities appear as red icons on the Kanban card, making them easy to spot.

Step 4: Opportunity chatter showing activity history and communication log

5

Schedule a Follow-Up Activity

Click the Activity button in the chatter to schedule a next action. Choose:

  • Activity Type — Email, Phone Call, Meeting, Demo, etc.
  • Due Date — when the action should be completed
  • Assigned To — defaults to yourself
  • Note — context for the activity

Click Schedule to save. The activity appears in the assignee’s calendar and activity list.

Step 5: Schedule activity dialog with type, date, and note fields

6

Create a Quotation from an Opportunity

When a customer is ready for a quote:

  1. Open the opportunity.
  2. Click New Quotation at the top of the form.
  3. A Sales Quotation opens, pre-populated with the customer’s details.
  4. Add product lines, review pricing, and click Save.

The Quotations smart button at the top tracks how many quotes are linked to this opportunity.

Step 6: Opportunity form showing New Quotation button and smart buttons

7

Mark as Won

When a deal closes successfully, open the opportunity and click the Won button at the top. The opportunity moves to the Won stage and is closed.

To view all won deals, remove the stage filter in the pipeline and scroll to the Won column on the far right.

Step 7: CRM pipeline with Won column visible on the right